Welcome to WeconnectU! We are excited to help transform the Property Manager's experience. Let's get started with the take-on process. Below is the process that can be followed to ensure a seamless migration process:
TABLE OF CONTENTS |
1. Default General Ledger
Before adding a community, please ensure that the default ledger is set up. This is the ledger that will pull through to all the communities. Once the communities have been created, the default ledger can not be changed in a bulk manner. It can however be altered per community.
1.1 Setting Up Default GL
Navigation: Global Overview > Settings > Default Ledger
The default general works the same as the Default Chart of Accounts. This would have to be set up BEFORE creating any communities. The default ledger which has been created on set up will be the default general ledger for all future communities added.
Note: Once all communities have been created, any new ledger added to the Global Ledger must be manually added to each existing community. |

The following options are available:
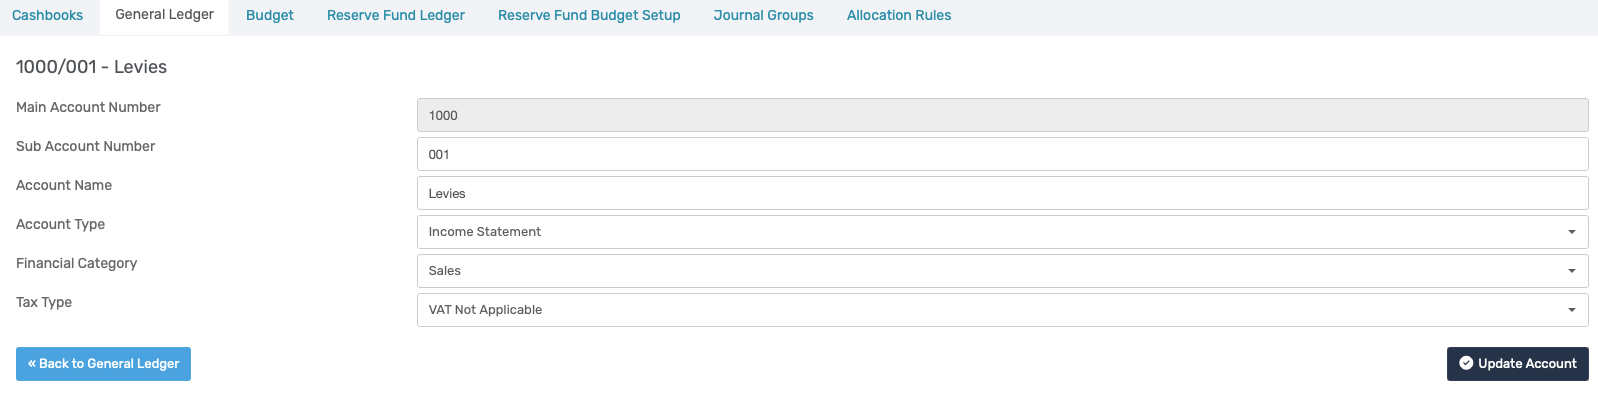
1. Add General Ledger Account: A new ledger can be created when there is a need to record or track processing separately.
2. Editing General Ledger: Where possible, avoid adding or deleting a ledger. Rather, rename the existing ledgers.
When the pop-up appears, amend the fields that are not greyed out and select Update Account to apply the changes.
3. Delete General Ledger: This will remove the ledger and sequence from the Solution and can not be reverted.
Important: If there is any processing done in the General Ledger Account it cannot be deleted. When deleting a General Ledger the GL account number which was allocated to that ledger will be removed and the next GL added will have the sequential GL account number. That deleted account number will no longer be available for future use and cannot be reinstated. |
2. Adding a Community
Navigation: Global Overview > Communities > Add New
To add a new community to the Property Managing Agency click on Add New.

- Complete as many of the fields as possible – All of these fields can be edited afterwards.
- Add the Community Code - this code should be unique and will be used to differentiate communities.
- Tick all applicable users that should have access to the Scheme under the ‘Select Users’ dropdown menu. (Discussed in migration process)
- Click on Save.

2.1. Add Community Details
Navigation: Automatically redirected to this page
- Complete as many of the fields as possible – All of these fields can be edited afterwards.
- Select the Unit Addressing: How does the Community address units when sending communication/ fines?
- Complete Community registration details:
- Community Registration Number
- CSOS Registration Number
- Income Tax Number
- If the community is VAT registered, tick the box and please fill in the VAT number.
- Tick Apply PQ if the community is a Body Corporate and if HOA or any other type of entity leave it unticked.
- Insert Interest %
- Insert Interest Exemption Threshold (the interest exemption threshold indicates the amount on which interest will not be charged)
- Amend banking details should the levy clearance bank account differ from the banking details on the Global Level under company details.
- Click on Save.

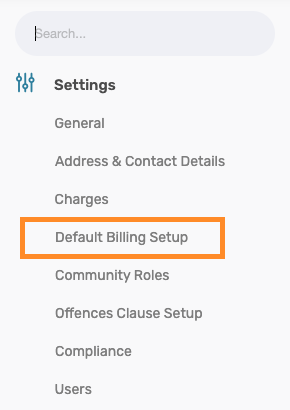
3. Default Billing Setup
Navigation: Community Overview > Settings > Default Billing > Scroll down
The Default Billing Setup tells the Solution which ledgers should be used for various billing processes.
Only the following needs to be done on this page:
- Select which utilities are applicable (if any) – Water and/or Electricity.
- If CSOS needs to be applied make sure the box has been ticked.
- Click Save

Note: Only the Utility and CSOS setup needs to be done by the Property Management Agency. WeconnectU will setup the rest of the ledgers during the Take-on. |
4. Upload of Take-On Documents
Navigation: Click on the Orange Take-on Page Button Top Right)

- Here the following documents can be uploaded, to ensure the migration team will be able to complete the take-on:
- Owner Info sheet (In required format)
- Budget (in Excel)
- Trial Balance (in Excel)
- Customer Age Analysis (in Excel)
- Supplier Age Analysis (in Excel)
- Previous Billing Run (in Excel)
- Under Community Details, complete the interest % applicable to the community.
- Under Cashbook, complete the banking details applicable to this community.

- Once the above-mentioned documents are uploaded, refresh the screen and the tab should turn GREEN to indicate that there are documents uploaded.

Note: Not ALL documents are needed to start the Take-On process but all documents are required to complete the process. Please ensure that all documents are in Excel this will make it easier to do the take-on. |
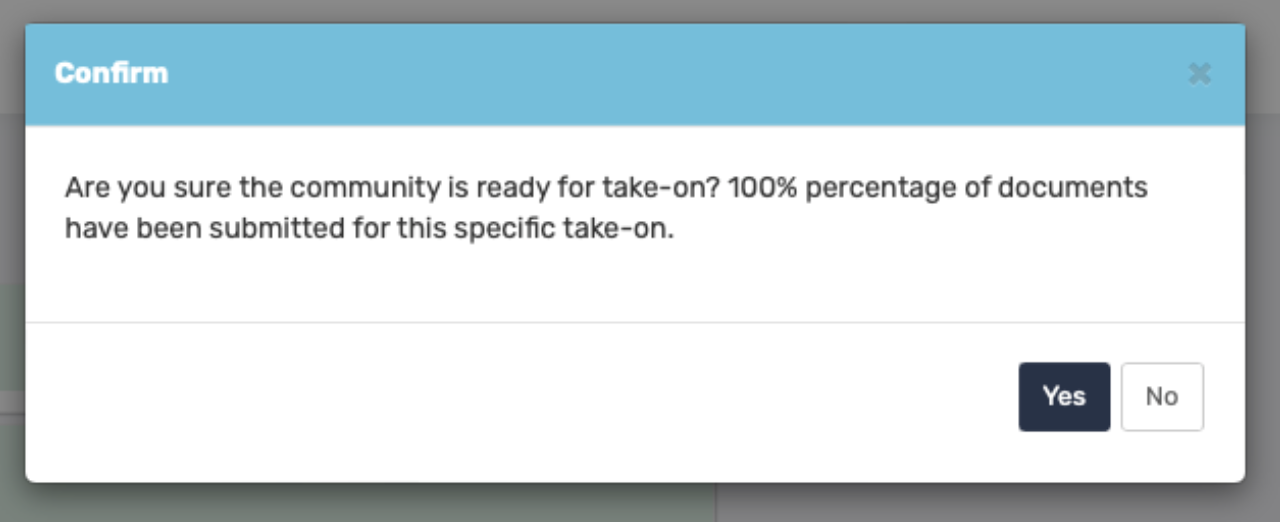
- Remember to click on Submit Take-on once all documents have been uploaded, for the migration team to be notified to start the take-on.
Note: If a part Take-On was submitted, please navigate back to the Global Overview and click on the Communities Icon in the blue navigation bar. To locate the community, click on the Take-On Tab for a list view of all active Take-Ons. |

Was this article helpful?
That’s Great!
Thank you for your feedback
Sorry! We couldn't be helpful
Thank you for your feedback
Feedback sent
We appreciate your effort and will try to fix the article